


Chocolate-Butterscotch “Mousse” Cake
Ingredients
Base:
20 Oreos, crushed
6 Tbsp. Unsalted Butter, melted
1 Tsp. Espresso Powder or Instant Coffee
1/2 Tsp. Kosher Salt
Mousse:
2 1/4 Cups Heavy Cream, divided
6 Oz. Milk or Semi-Sweet Chocolate Chips
3 Oz. Butterscotch Chips
Ganache:
1 1/3 Cups Dark Chocolate Chips
1 Cup Heavy Cream
Steps
Base:
1. Remove the cream fillings from the Oreos and crush them by either placing them in a bag and pounding them with a rolling pin or pulsing with a food processor.
2. Butter the bottom and sides of a 9” springform pan.
3. Place in a medium or large mixing bowl and toss together with espresso powder and salt to combine.
4. Melt butter in a saucepan over medium heat then pour over the Oreo mixture and mix together with a rubber spatula or your hands (wash them first, obviously) to completely combine.
5. Pour the Oreo mixture into the prepared pan and press evenly into the bottom and slightly up the sides on the pan. (I use either a rubber spatula or the bottom of a measuring cup to press down on the mixer and even out the crust.)
6. Place the pan in the fridge for at least 30 minutes to set while you prepare the main portion of the cake.
Mousse:
1. Place the bowl to a stand mixer, a whisk attachment, and another large mixing bowl in the freezer to chill.
2. Place the butterscotch and chocolate chips in separate small or medium sized glass mixing bowls, set aside.
3. In a saucepan over medium heat, bring 3/4 cups of heavy cream to a bare simmer, stirring occasionally. The cream will be ready as soon as you start seeing bubbles around the edge.
4. Pour 1/2 cup of the cream over the chocolate chips and 1/4 cup over the butterscotch chips and let sit for 1 minute.
5. Whisk each mixture until entirely smooth, then cover the bowls in plastic wrap and place in the fridge to chill for 20-25 minutes.
6. Once the chocolate and butter mixtures are chilled, remove them from the fridge and take the bowls and whisk out of the freezer.
7. Pour the remaining heavy cream into the bowl of the chilled stand mixer and whisk it with the chilled whisk attachment, slowly increasing to medium-high speed until the cream is fully whipped and stiff, about 2-3 minutes.
8. Using a rubber spatula, gently transfer 1/3 of the whipped cream to the chilled mixing bowl.
9. Again acting very gently, fold the butterscotch into the whipped cream in the chilled bowl and fold the chocolate into the whipped cream in the stand mixer bowl. (Use a rubber spatula to slice through the center of the cream, then scrape around the sides then back over the top.) Do this until fully combined and no streaks remain, but do not over-stir. (If you work the cream too much it will become too liquid-y.)
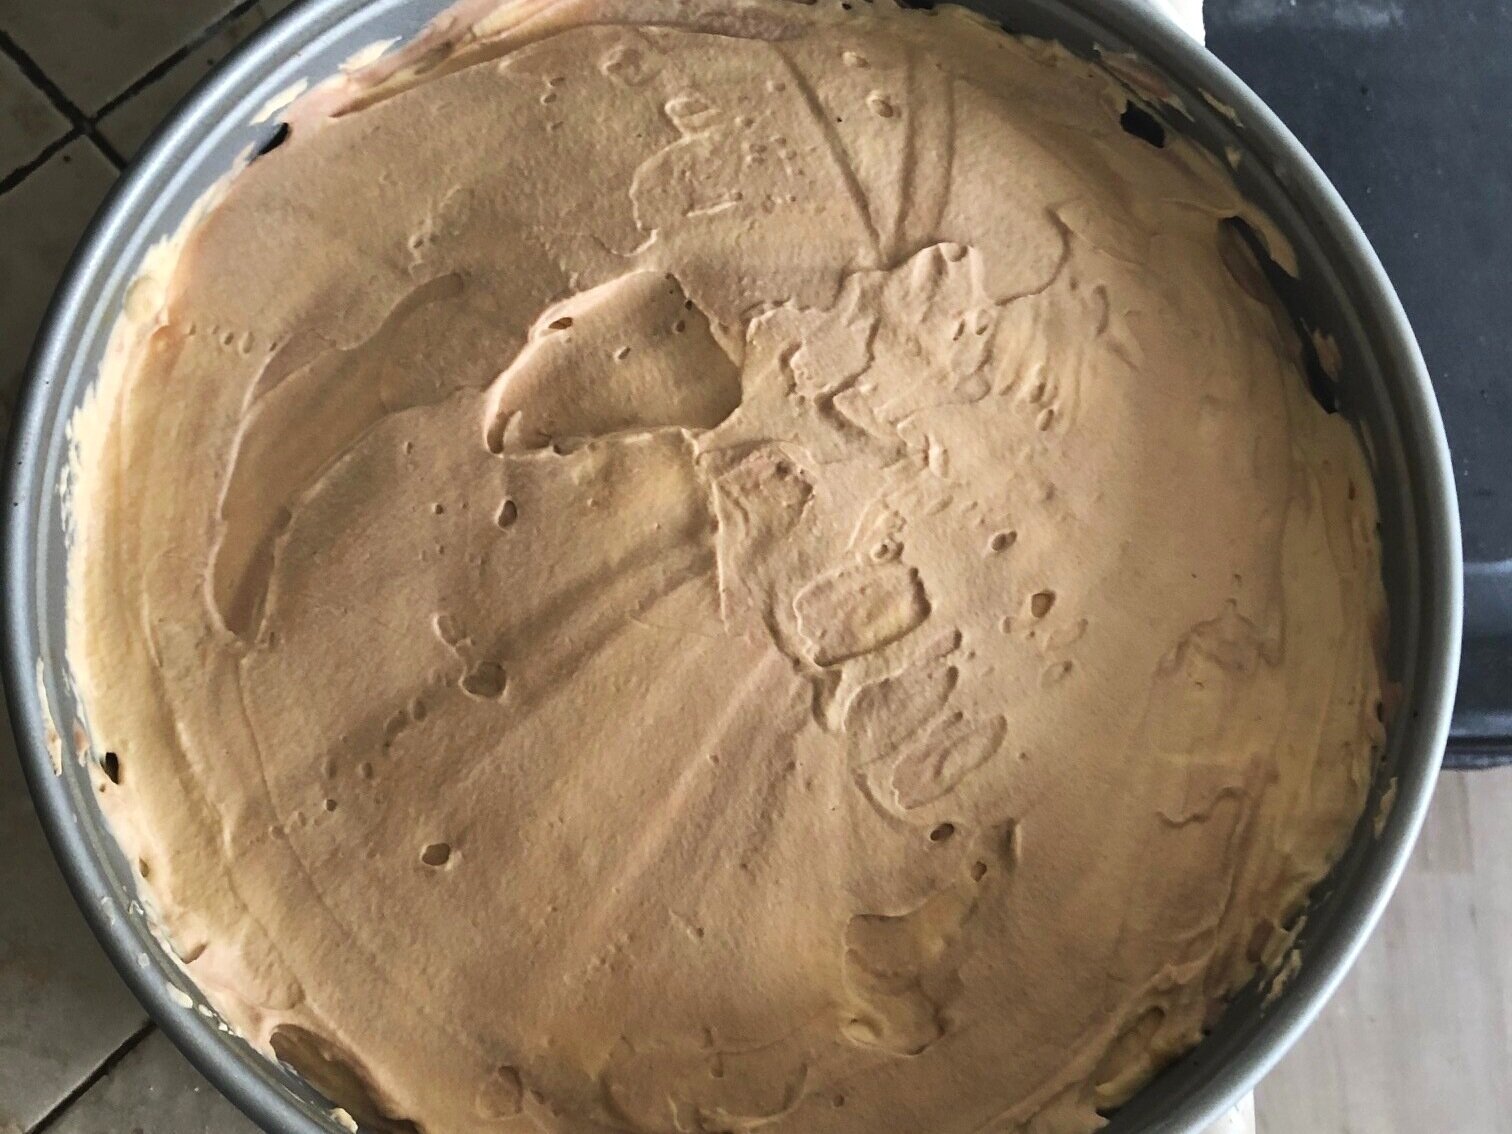
10. Take the crust out of the fridge and alternate scooping portions of the chocolate and butterscotch mousse mixtures onto the crust.
11. Swirl the two mixtures together using the edge of a butterknife or small offset spatula and smooth out the top.
12. Cover with plastic wrap and chill in the fridge for at least 6 hours, ideally overnight.
Ganache + Final Assembly:
1. Place chocolate chips in a medium or large glass mixing bowl. Set aside.
2. Just like with the chocolate and butterscotch mixtures for the mousse, in a saucepan over medium heat, bring heavy cream to a bare simmer.
3. Immediately pour the cream over the chocolate chips and swirl the bowl around briefly to ensure all the chips were coated.
4. Cover the top of the bowl with a baking tray or thick cutting board to trap the heat. Keep the bowl covered for 5 minutes.
5. Remove the cover on the bowl and whisk the chocolate cream together until the mixture is fully combined. Set aside at room temperature for 20-25 minutes. While you wait for this to set, place the mousse cake in the freezer to firm up more before you pour the ganache.
6. After the ganache has set a little bit, remove the cake from the freezer, remove the plastic wrap and pour the ganache over the top of the cake and even out the layer.
7. Press plastic wrap on top of the ganache to cover it, then place in the fridge once again to set. At least 3 hours.
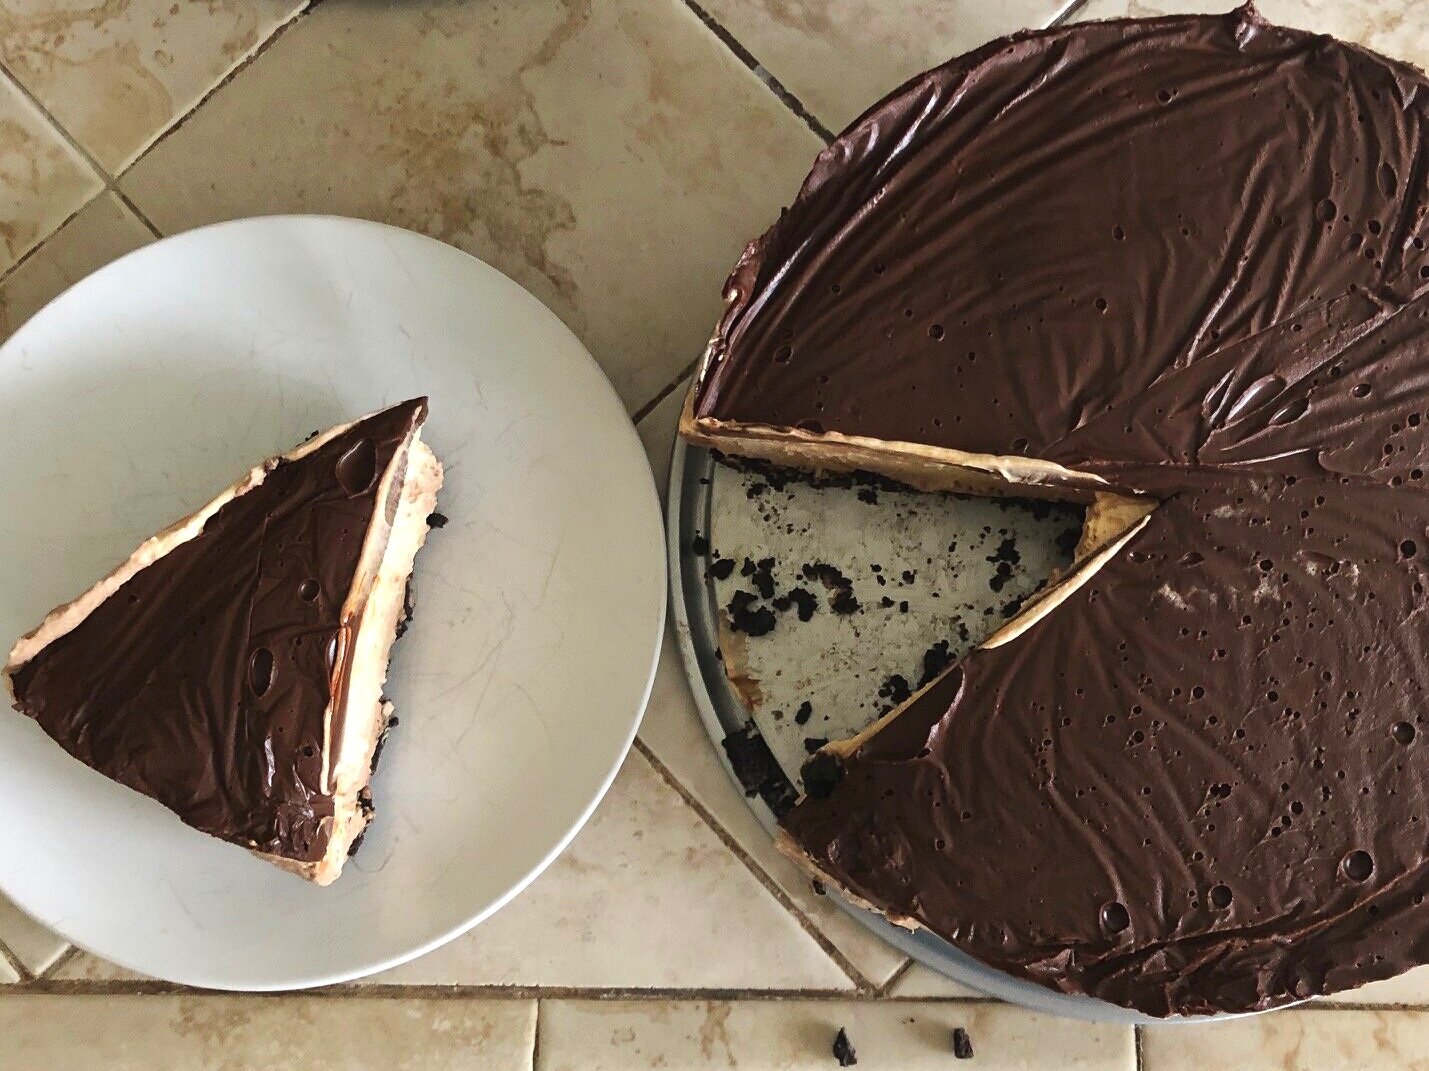
8. Place the cake in the freezer for 15 minutes prior to releasing the sides of the springform pan.
9. Remove the plastic wrap and slide a knife around the border of the cake then release the springform pan to reveal your cake. Slice and serve, and make sure to keep the cake stored in the fridge. (Don’t let it sit out too long!!)
10. Enjoy!